If you’re looking to block ads, trackers, and improve your online privacy, AdGuard Home is a great solution. Unlike traditional ad blockers that work at the browser level, DNS-based ad blocking intercepts and filters DNS requests, which allows you to block unwanted content across all devices on your network—whether it’s your computer, smartphone, smart TV, or any IoT device.
The primary advantage of DNS-based ad blocking is that it works at the network level. This means that you don’t need to install any software on each device, and it blocks ads, trackers, and malware before they even reach your device. Additionally, DNS-based blocking is fast and lightweight, providing a seamless browsing experience without the need for resource-heavy browser extensions.
In this tutorial, we’ll walk you through the steps to install AdGuard Home on your server using Docker, providing a secure and easy-to-setup network-wide ad blocker.
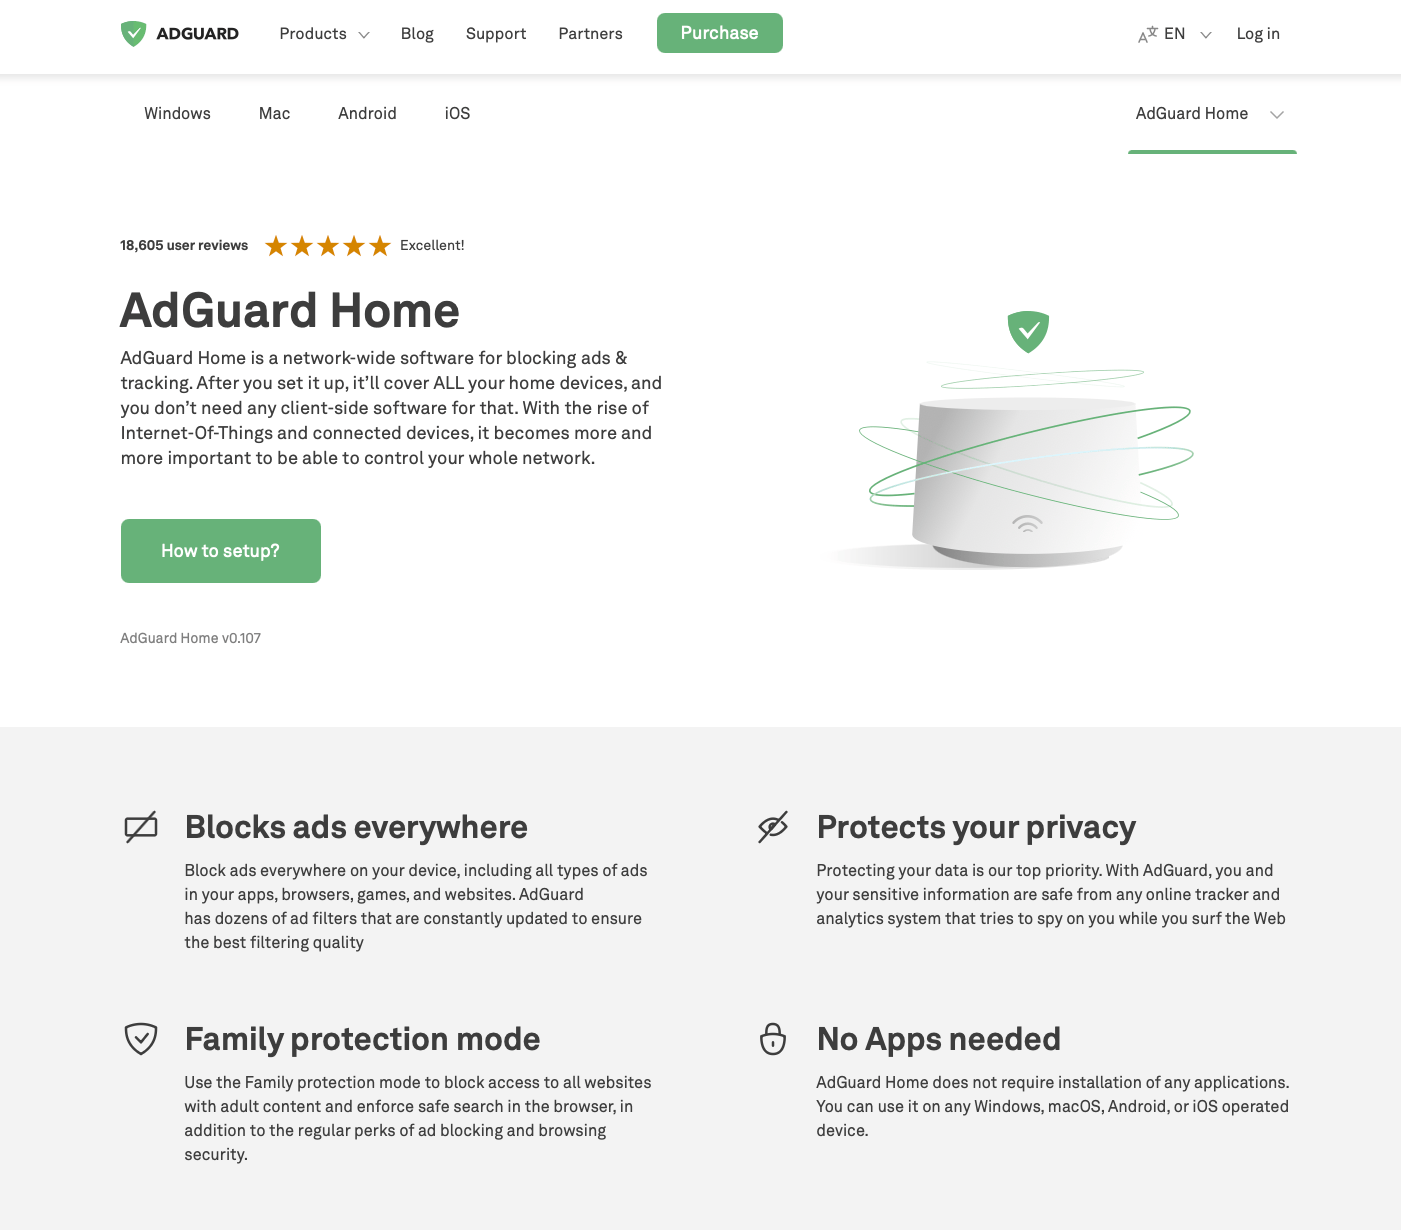
What is AdGuard Home?#
AdGuard Home is a network-wide software that acts as a DNS server and blocks unwanted content like ads, trackers, malware sites, and phishing domains. It works by intercepting DNS requests and filtering them, ensuring that ads and trackers are blocked before they even load.
By using Docker, you can quickly set up AdGuard Home in a containerized environment, making it easy to manage and run. Let’s get started!
Prerequisites#
Before we begin, make sure you have the following:
- A machine with Docker installed. If you don’t have Docker installed, you can follow the official guide here.
- Basic knowledge of using the terminal.
Step 1: Create a Directory for AdGuard Home#
First, let’s create a directory on your system where we’ll store the necessary files and configurations for AdGuard Home.
mkdir ~/adguard-home
cd ~/adguard-home
Step 2: Create a Docker Compose File#
Next, we’ll create a docker-compose.yml file to set up the AdGuard Home container.
touch compose.yml
Now, open the file in a text editor and paste the following content:
services:
  adguardhome:
    image: adguard/adguardhome:latest
    container_name: adguardhome
    restart: unless-stopped
    ports:
      - "53:53/tcp"
      - "53:53/udp"
      - "853:853/udp"
      - "80:80"
      - "3000:3000"
    volumes:
      - ./data:/opt/adguardhome/work
      - ./conf:/opt/adguardhome/conf
    network_mode: "host"
NOTE: You can use other ports if the ones mentioned are already in use. But keep the ports 53 and 853 as it is.
Step 3: Start the AdGuard Home Container#
Now that we have our compose.yml file set up, we can start AdGuard Home.
docker-compose up -d
This command will pull the latest AdGuard Home image from Docker Hub and start the container in detached mode.
To check if the container is running:
docker ps
You should see the adguardhome container listed as running.
Step 4: Setting up AdGuard Home from the Web Interface#
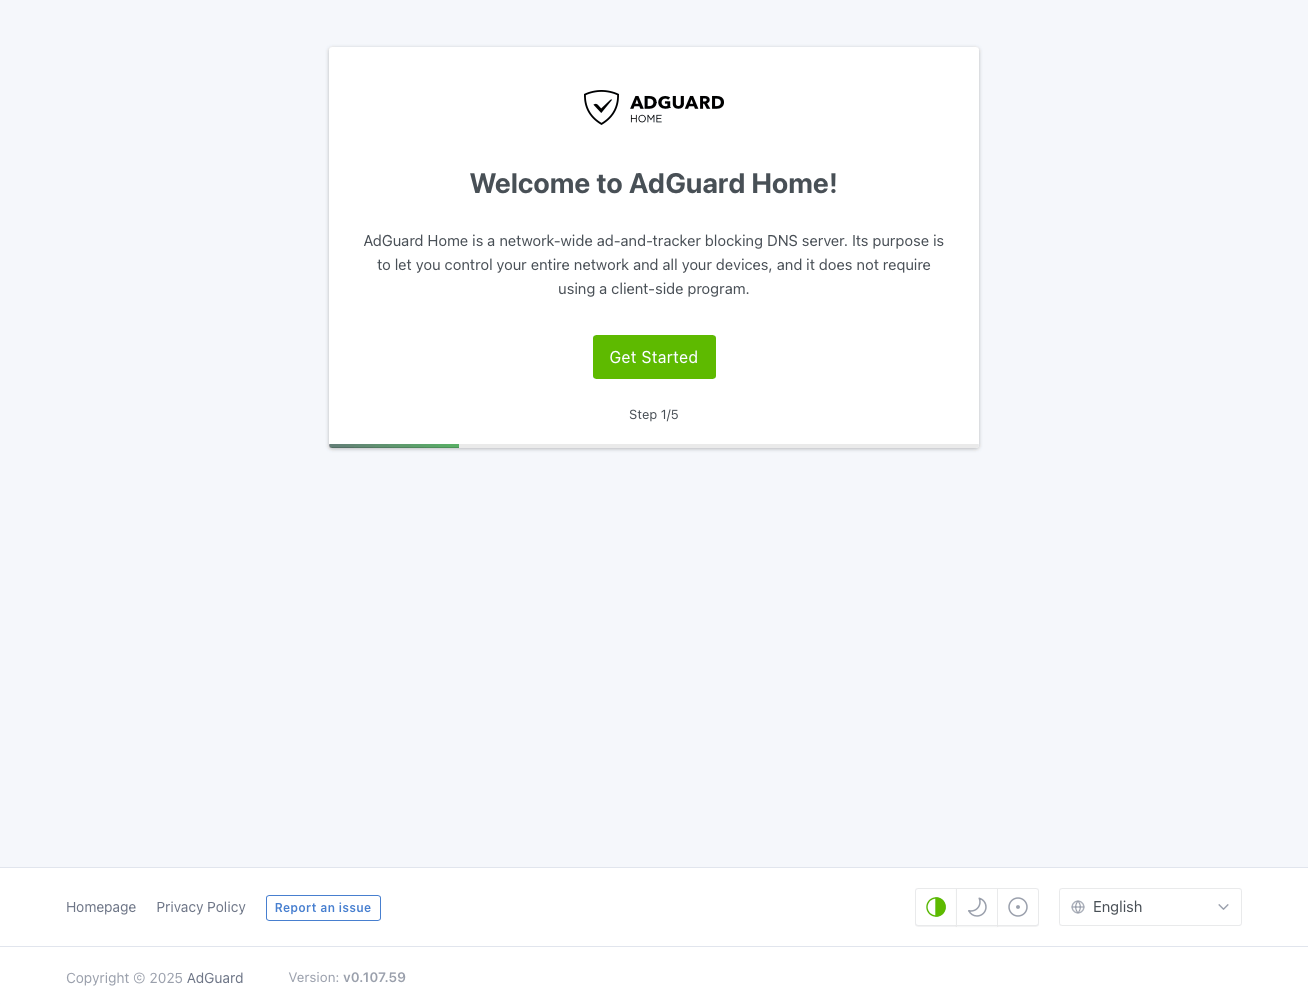
Once the container is running, open your web browser and navigate to http://<your-server-ip>:3000 you’ll see the welcome page.
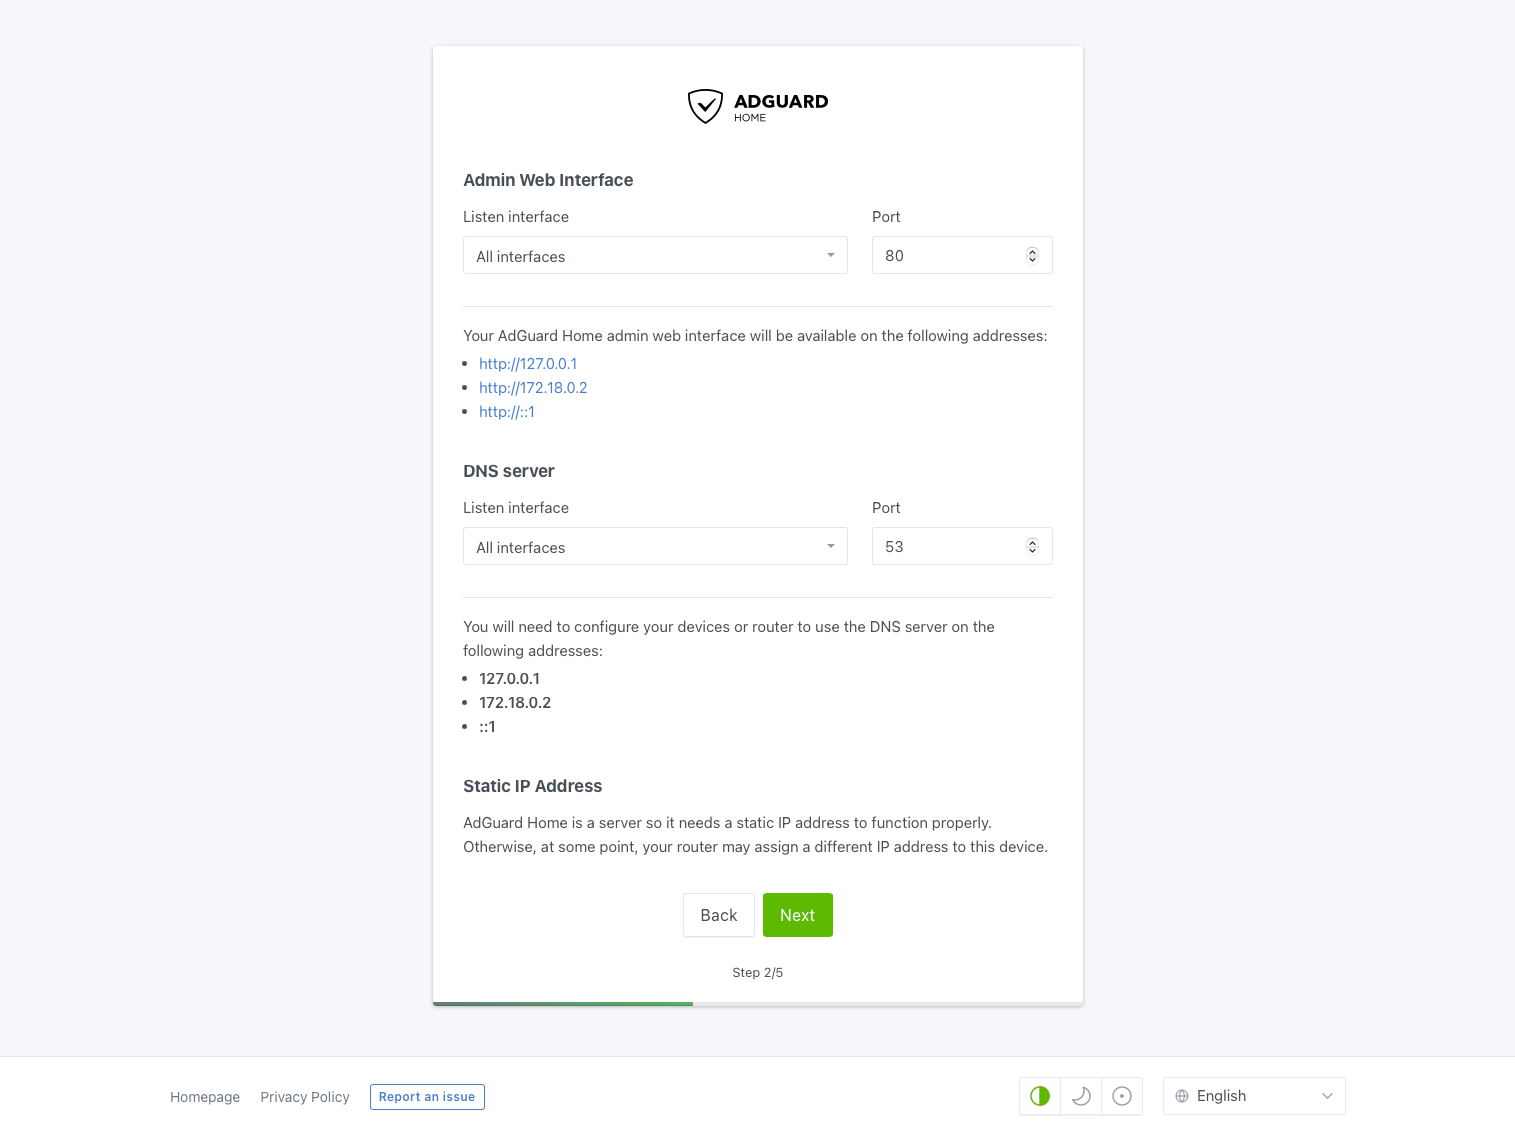
Here you can change the interface and port on which Adguard home listens for the DNS and admin web interface.
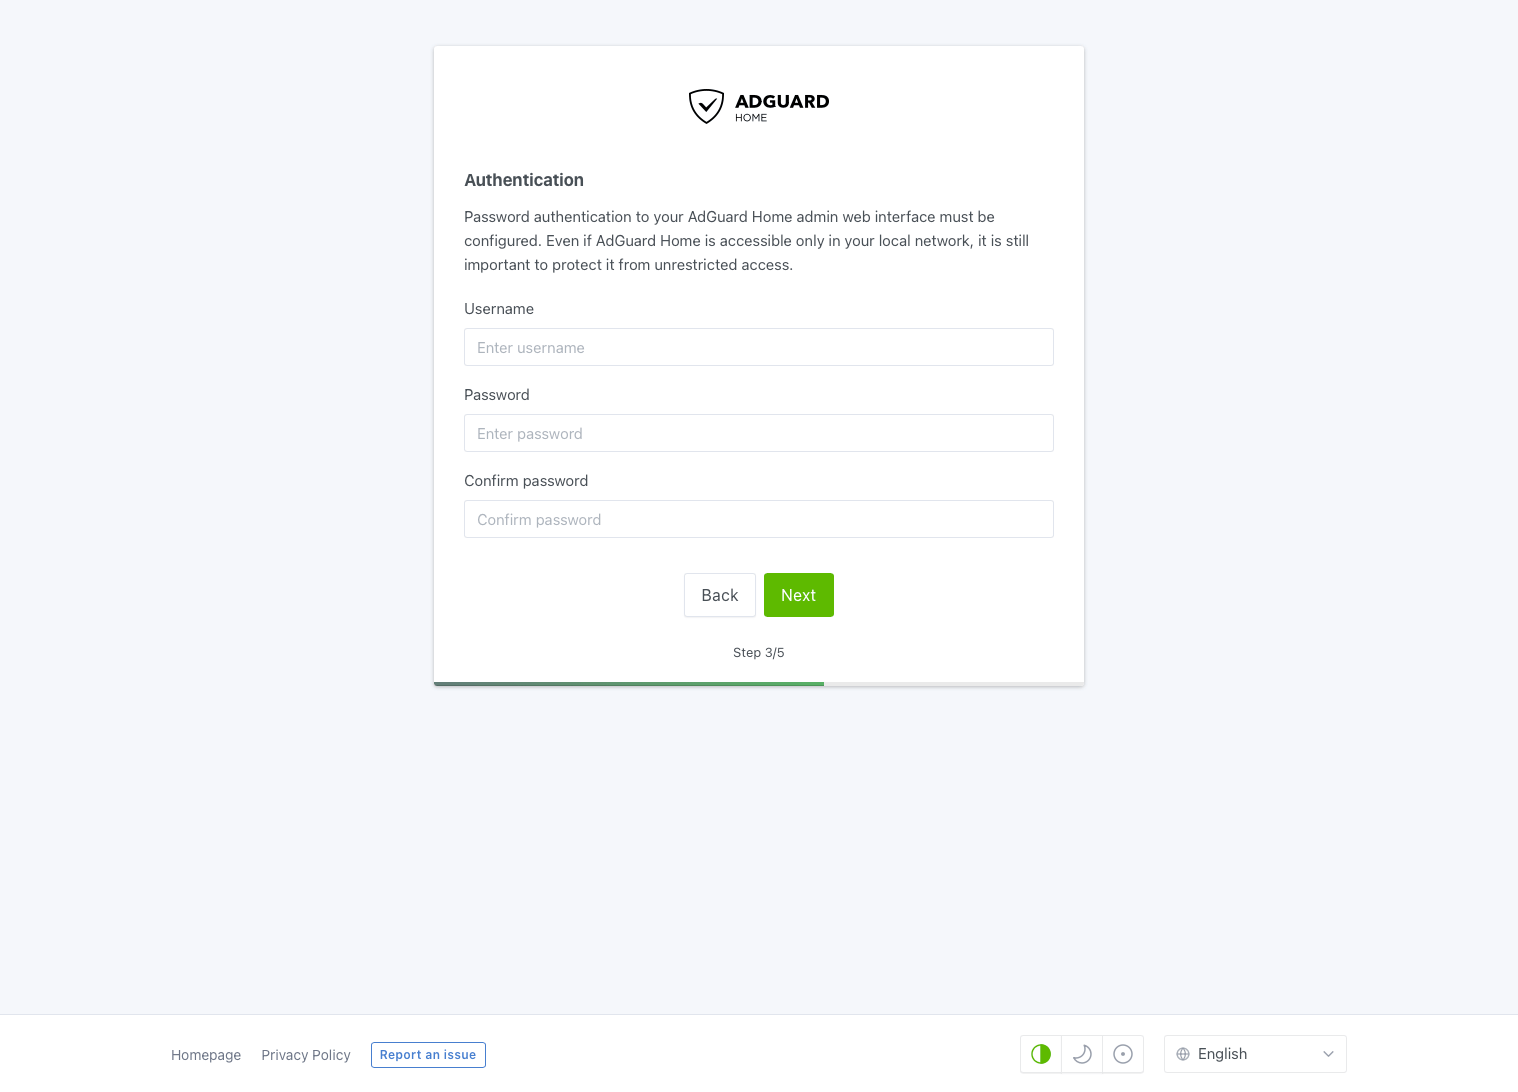
Next, enter the username and password to access the admin interface.
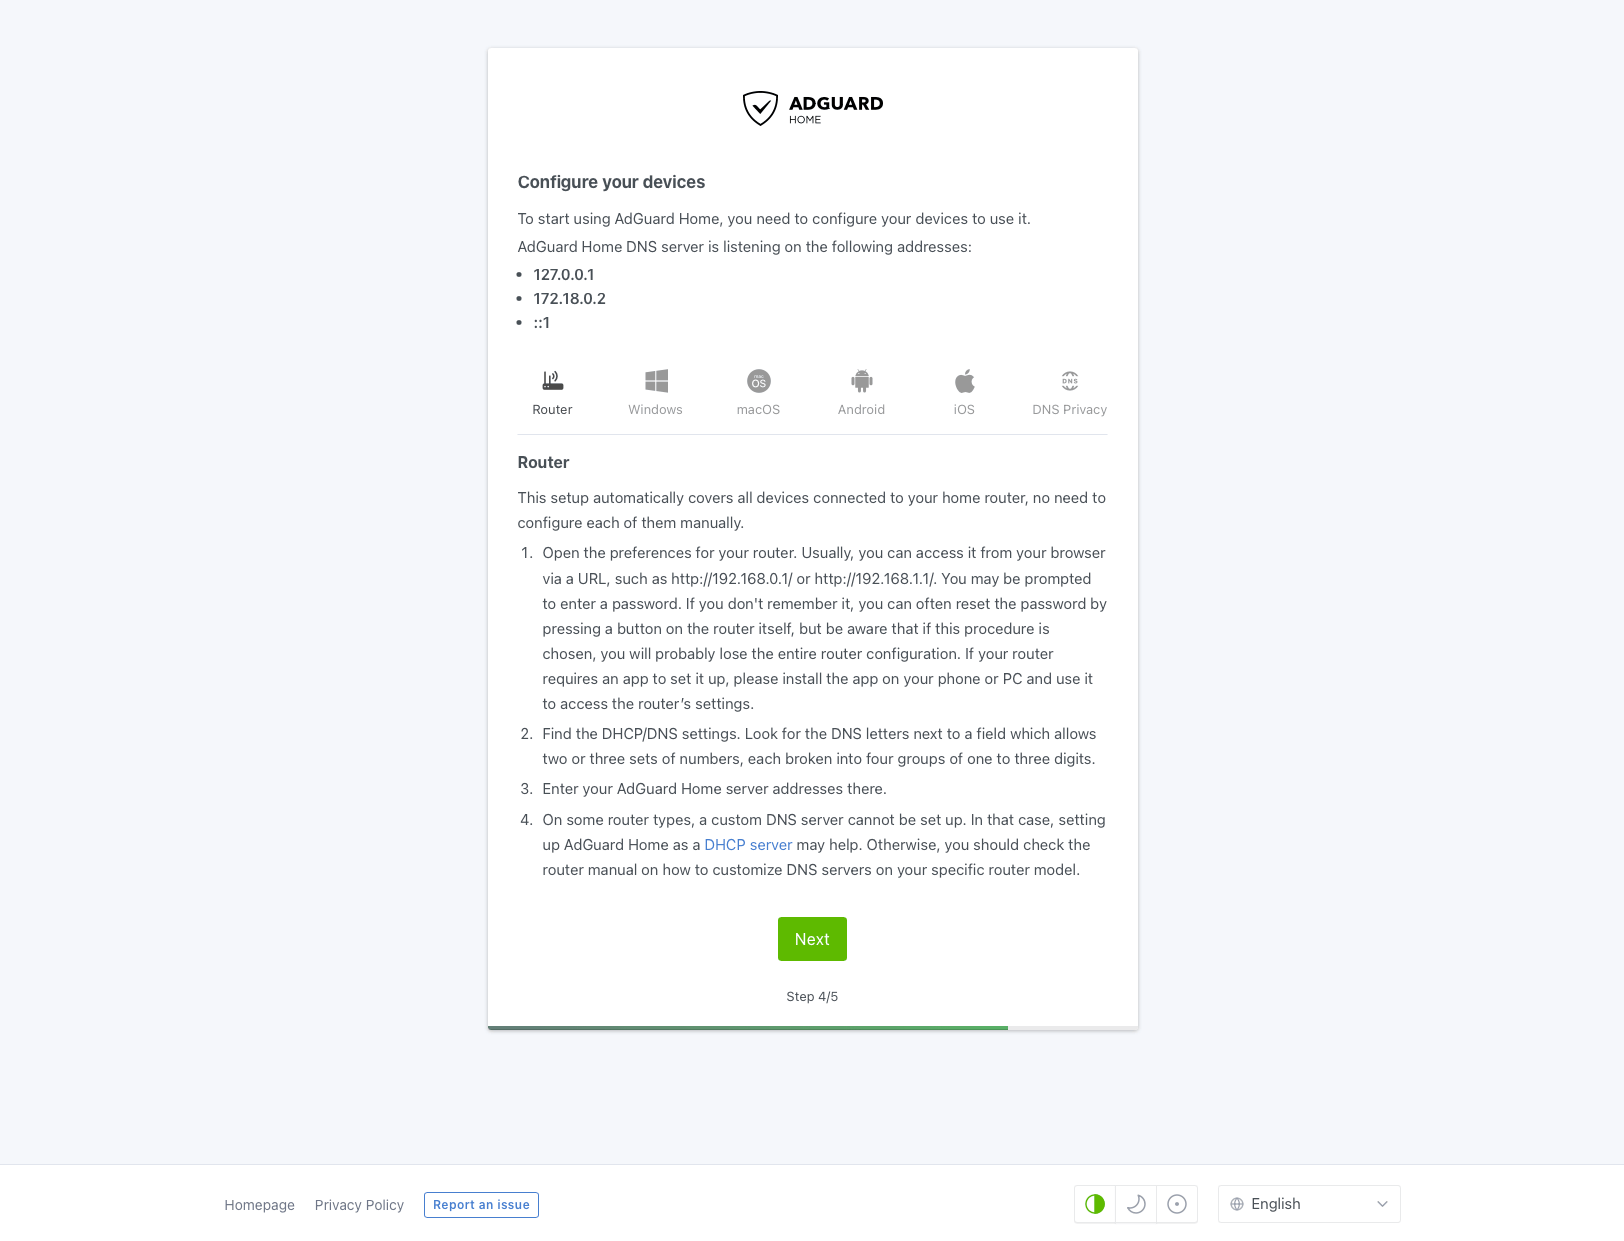
On the next step adguard tells you to change the DNS on your devices. We’ll do this later.
When you are done adguard will redirect you to the login page.
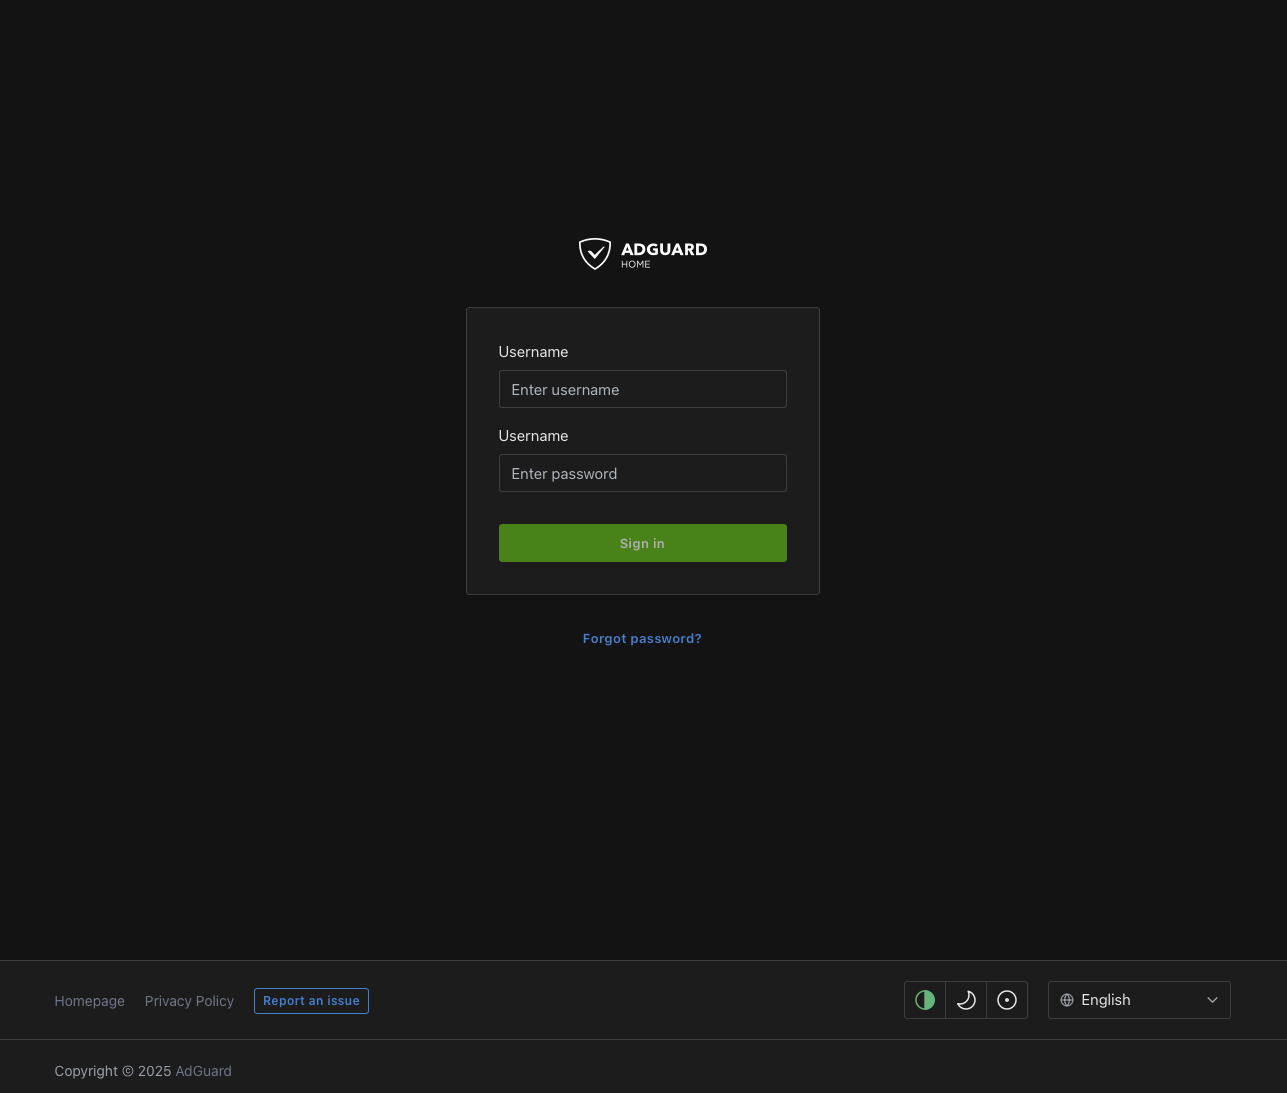
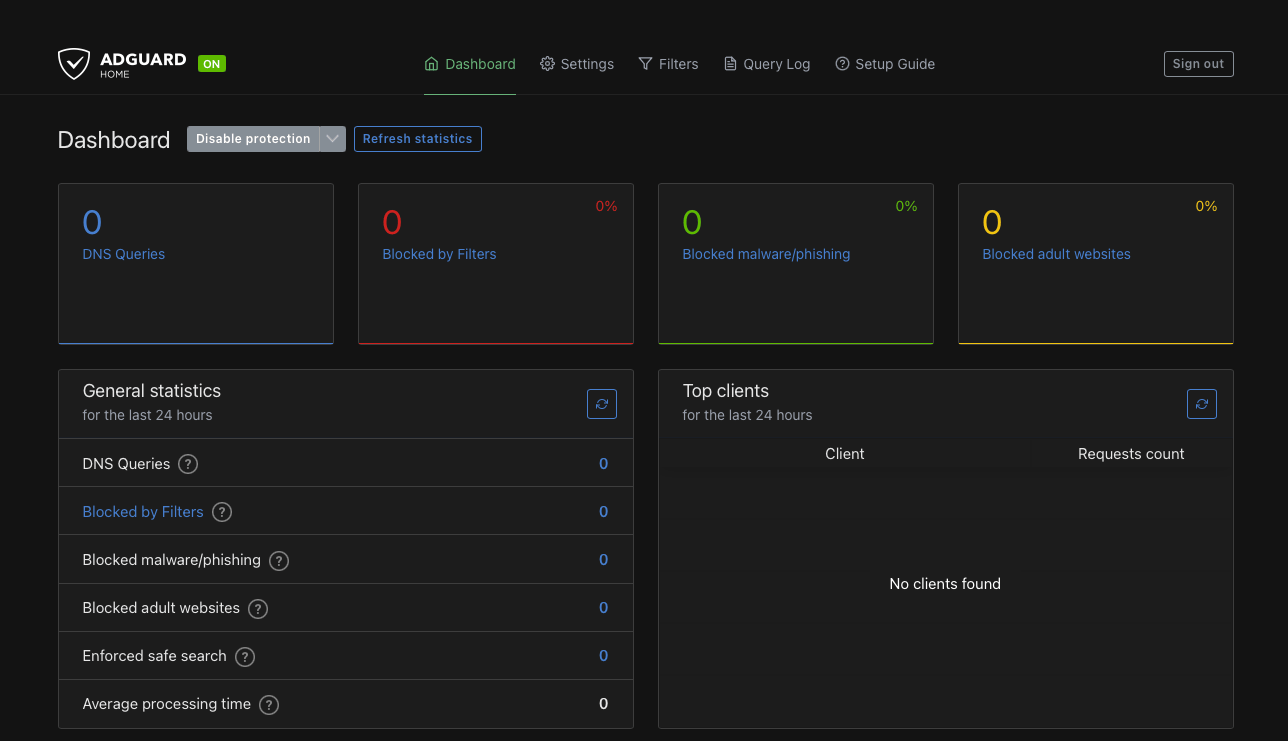
Login using the username and password you created above. Upon login you’ll be able to see the dashboard.
Step 5: Configure Your Devices to Use AdGuard Home#
To use AdGuard Home as your DNS server, you need to point your devices (e.g., routers, computers, smartphones) to the IP address of your AdGuard Home instance.
For most home routers, this can be done by accessing the router’s settings and changing the DNS server to the IP address of the server running AdGuard Home.
For example:
- Primary DNS:
<your-server-ip> - Secondary DNS: You can leave this blank or use another DNS provider (such as Google DNS or Cloudflare DNS) as a fallback.
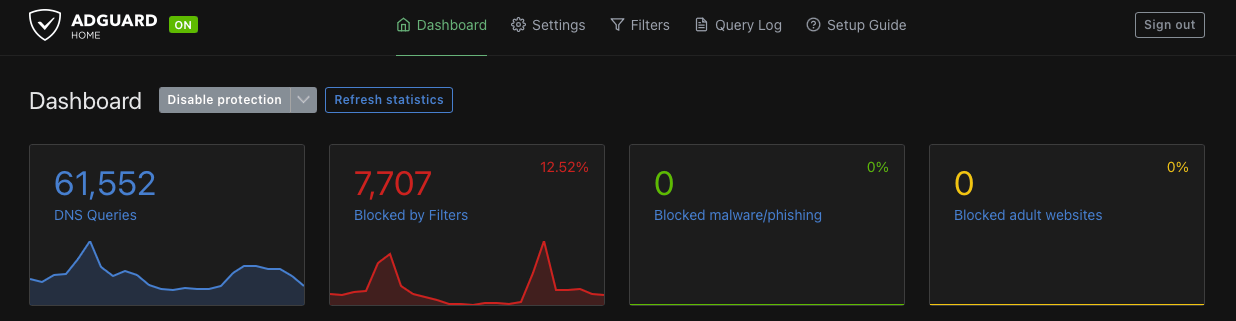
Once the DNS settings are updated, your devices will start filtering traffic through AdGuard Home. You can visit the dashboard to view the stats and logs.
Wrapping Up#
AdGuard Home is a powerful tool to block unwanted ads and trackers on your network. You can also add more blocklists in the admin interface for even better protection. Now that you have your own ad-blocking solution running on Docker, you can enjoy a cleaner and faster browsing experience!